Look What I Can Do!!! *PIC Heavy*

gagalerslove total cost was around $1000 but some of that cost was for additional things I added like the shutters and the extra window. I also purchased some things that you might not have to like a miter saw blade and a new jig saw. If you take out the extras it probably cost around $800.
 
Coop looks great, congrats on all the hard work paying off. I'm about to start the walk-in from the book and wanted to ask if you put the 4x4 skids up on 4 concrete supports? I was thinking of doing the same thing as we get tons of snow here. It can get pretty darn windy here too. Did you worry at all about the coop being blown over?
 
You really did an AMAZING job!!!!!!!!!!! I have been so busy with company for the past 2 weeks that I haven't replied..

So what are you building next??
lol.png
big_smile.png
 
Kiwiegg I did put the skids on the concrete pilings. It made it really easy to level the floor that way and it gives the chickens a place to get out of the sun if they like. I definitely do not worry about it blowing over. You can always put some lag screws in through the holes in the metal brackets in the pilings if you are really worried but the coop weighs a lot!
smile.png
Like I said to Gryeyes earlier though, I would stick to the gabled roof in the plans though unless you really know what you are doing for the sloped roof. I think we really could have gone with a smaller slope on the roof too but I will see how it does this winter and how the snow slides off of it. I might be glad that we did the 20 degree slope.

Heather I am done building for a while!
wink.png
I do still have a few things to do on the this one. Finishing up some of the trim work and I really want to do the PVC feeders inside the coop. The chickens keep knocking over the feeders in the coop and I want to do a better roost. I just stuck one up quickly so that they would have one but I would like to do a longer one. I still have to put the board up in front of the nest boxes inside so that they will stop knocking all of the pine shavings out of them.

vnploves chickens I will get a picture from the back so that you can see the roof and of the inside after I make the improvements that I want to do. Probably won't get to the improvements this weekend since I have to go food shopping for the horses and I would like to get a ride in if the weather cooperates.

I would like to thank everyone for the kudos and the encouragement, this project has definitely given me the courage to think of other things I thought I couldn't do but probably can!
thumbsup.gif


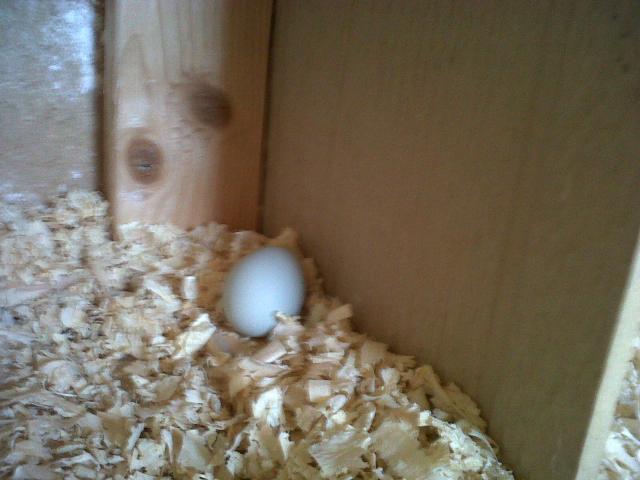
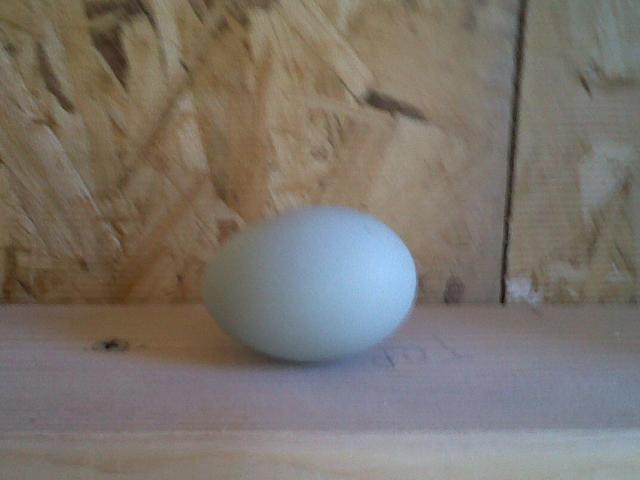
ETA - Kiwiegg I am really glad that I put the nest boxes on the outside. It does save a lot of floor space. I only have eight chickens now but I am dreaming of more!
wink.png
big_smile.png
It was easy to modify the outside nest boxes from one of the other plans to five exterior nest boxes for this one.
 
Last edited:
I believe it is to make the exterior dimensions the full 8X8. That makes for less waste when you do the sheeting on the outside.
 
OK I have been a little lax on getting some more pictures and I promise if the weather finally holds out today, I will get some of the roof side and of the chickies in their coop. Wasn't able to do the little finishing up projects last weekend because of the weather and I had to go feed shopping for the horses. Hoping that this weekend's weather is not going to be as bad as they say it will be so I can get some of this done. I have discovered that I will have to get some weather stripping for the cover on the nest boxes. There is a big enough gap between the cover and the side of the coop for rain and snow to get in so I will be doing that this weekend. The best thing that has happened this week so far is that I finally got my first egg yesterday! I went out to check the water, food and let the chickens out to free range for a little while. I went into the coop and noticed that they had kicked most of the shavings out of the nests and the golf balls (yeah I have to put a board in front of the nest boxes as well this weekend so the shavings will stay in). I was putting the shavings and golf balls back into the nests and when I got to the last nest I found my first egg!! I went running out to tell DH and he saw me running from the coop and knew we had our first egg! It was a beautiful green pullet egg from one of the Ameraucanas. I was shocked to find an egg and I was shocked that it was one of the Ameraucanas that laid first. I know that they are supposed to be two months older than my first pullets but the SLW and GLW have looked ready to lay for weeks so I figured that it would be them to lay first. So cool to find a green egg. It was better than an Easter egg hunt!
60251_img00120-20101026-1550.jpg

Good girl laid her first egg in the nest box!

60251_img00121-20101026-1551.jpg

Perfect pullet egg about half the size of a large egg. We cooked it up and shared it. We each got a good bite. It was the best egg I have ever eaten!
big_smile.png
 

New posts New threads Active threads

Back
Top Bottom