It's Fair time in Alaska and we are balancing time spent on the barn with all the other activities that come with the Fair. We didn't enter any animals this year but there is still plenty to do... concerts, the parade, wandering aimlessly through throngs of strangers and hordes of vendors... I'm sure you all know what that's like
We have made some progress,
all 3 pop doors are installed yep, you heard me right, I said three.
During the construction phase, we had the builder leave space for the pop doors which hadn't arrived yet.
We checked and rechecked the website but didn't see any mention of how high the entire space needed to be. I was only able to find the dimensions for the actual pop door opening, which said 16.75", so the builder and I doubled that and added 4 or 5".... it wasn't enough
NO worries, we moved on to "Plan B" Spray Foam Removal
who doesn't love a little demolition? So I found a hammer and a pry-bar and set to work. We moved to the other side of the stud and H2B measured and cut out the new opening. The spray foam was about 3" thick, but it's about like cutting through styrofoam, not that hard to do, but it is stuck like glue to the inside of the T-111 so I couldn't just run a knife around the edge and pull it out.
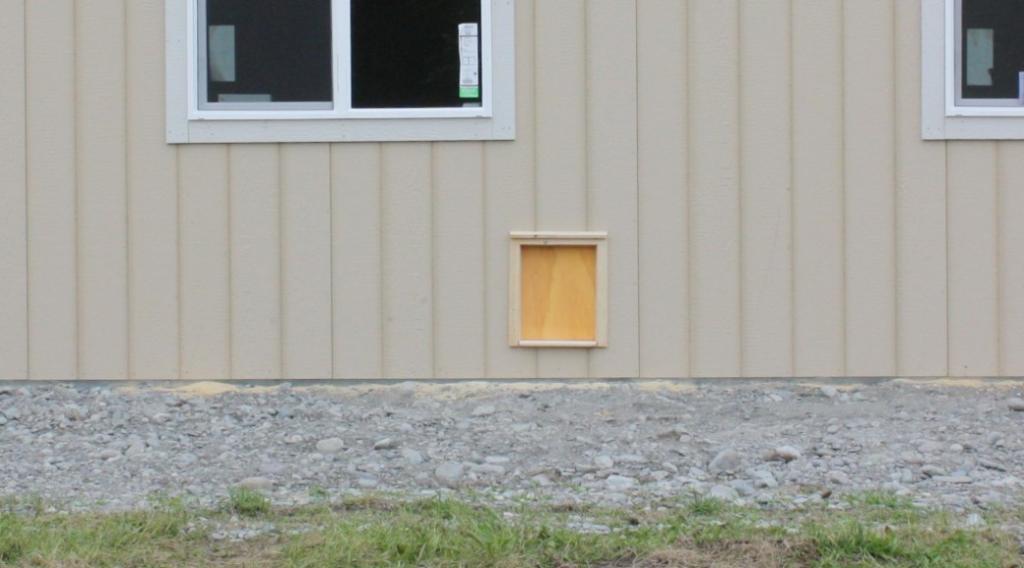
Since we were recreating our openings... We added a couple 2X4's under the doors to help reduce the amount of shaving that would be kicked out the door. Since the doors were designed to fit in a wall framed with studs 16" apart and our walls were framed with 24" studs, we simply followed the installation instructions and then added an extra stud to make the 16" frame.
We got some cans of spray foam and I foamed in around the door assemblies and in the spaces originally left without foam. We will be adding ply wood over the openings, although we've decided to make the panels that will cover over the doors in such a way that they can be easily opened back up later should the door need repair or maintenance. The doors are electric and will be on timers, plugged into the outlets that will be installed above each door, so opening and closing will be automatic.
It's good to have an electrician in the family
The doors come with great little trim kits so they have a nice finished look.
Next we will break out the paint sprayer and use up all the leftover interior "off white" paints that we have taking up space in the garage.
Then comes the interior walls and trenching for the gas, water and electric lines from the house out to the barn. My yard is going to be totally wrecked... but it's for a good cause. I can landscape next year


 BYC's 52-week Photography Challenge. Week 9: (Mar 2 - Mar 8, 2026) Theme: Frame within a Frame
 BYC's 52-week Photography Challenge. Week 10: (Mar 9 - Mar 15, 2026) Theme: Get Low!