Quail Coop Freebie Ongoing Upgrades

Dadanga

Songster
Aug 28, 2023
215
1,452
176
Perth down under
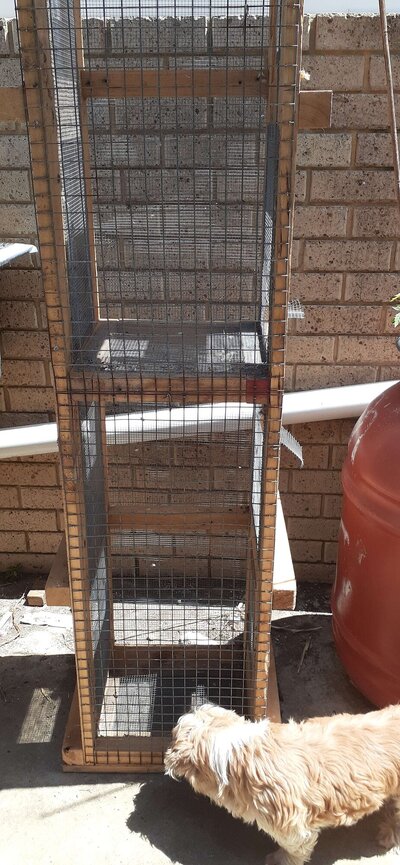
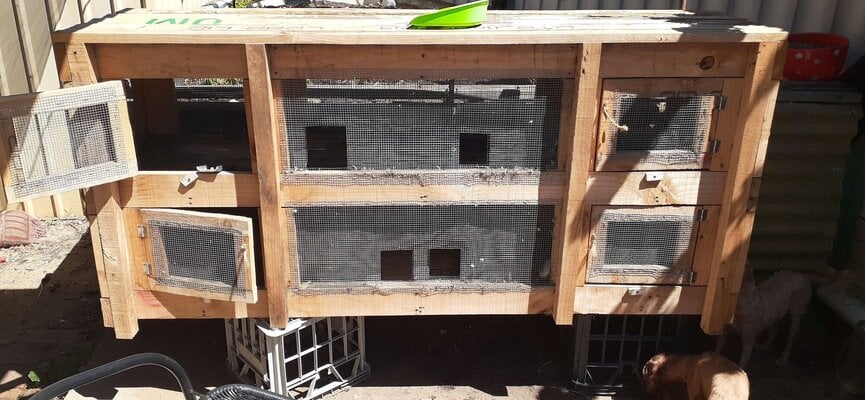
So I decided just to give this its own thread. In a time, not so long ago, I managed to snag a freebie coop someone was giving away. It had solid pine construction and built up dirt and there was even some eggs in there. A second part was also snagged but I managed to attach a mesh floor and legs and basically have it as a bachelor pad and since there's an internal wall I can isolate them further which is what's happening now. On one side I have two second choice roos and on the other a hen with a young english white roo coming into adulthood.

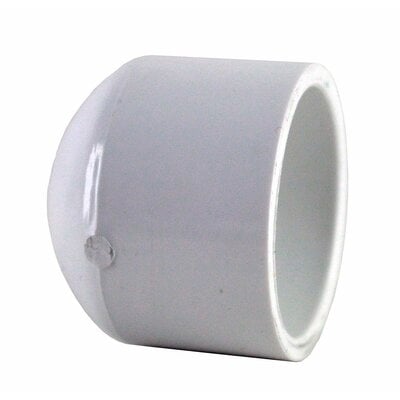
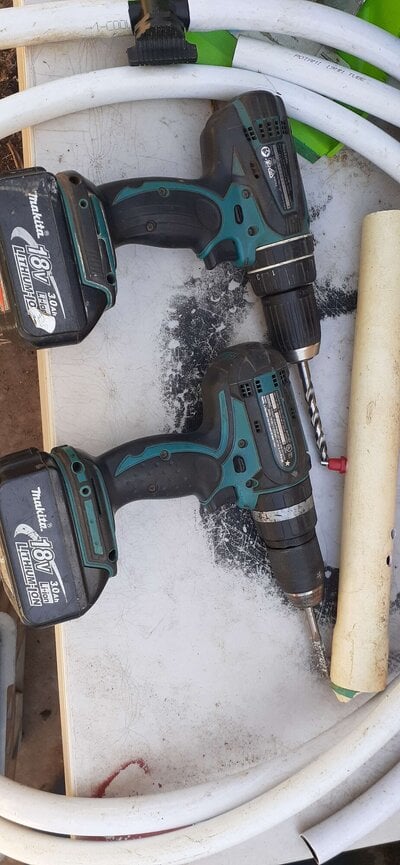
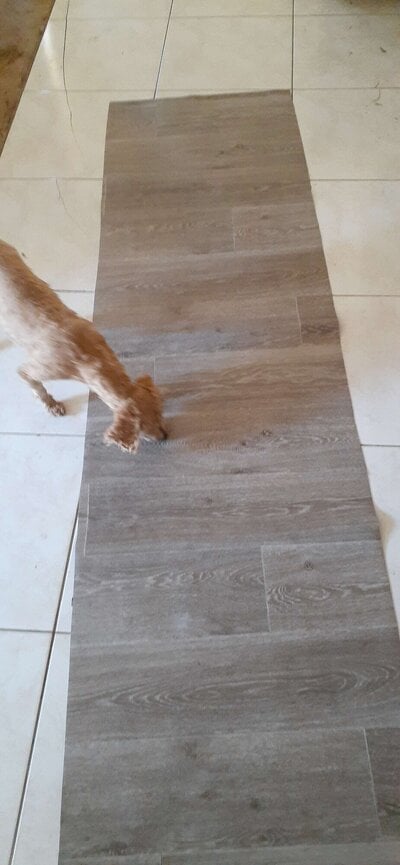
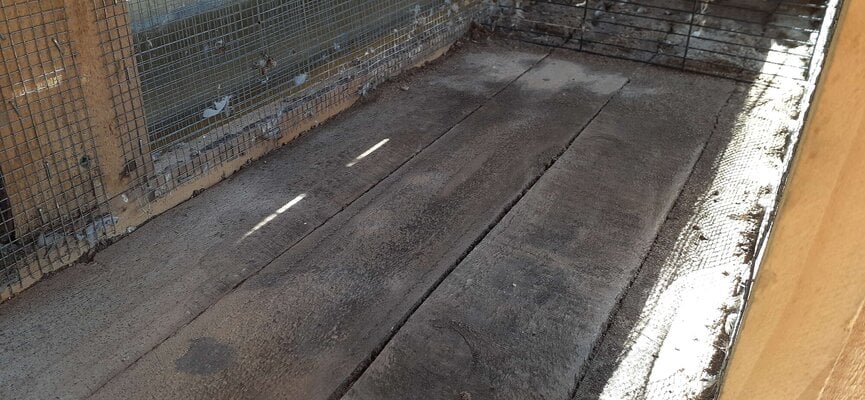
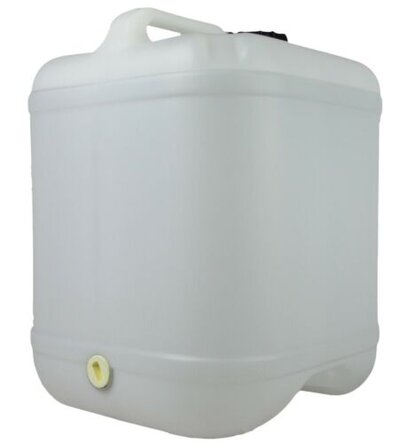
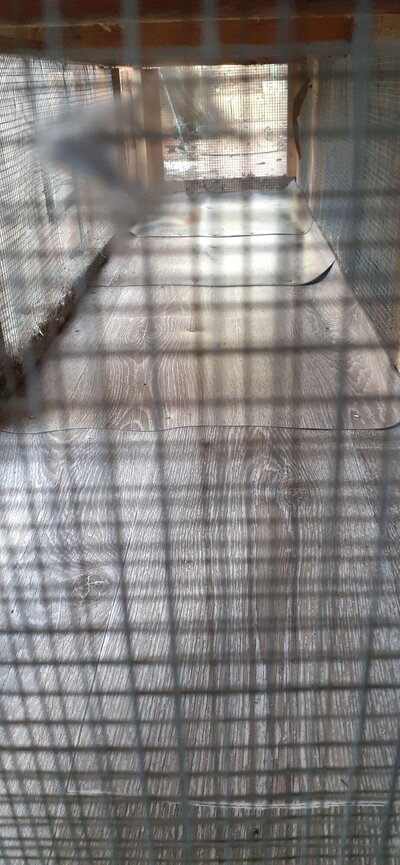
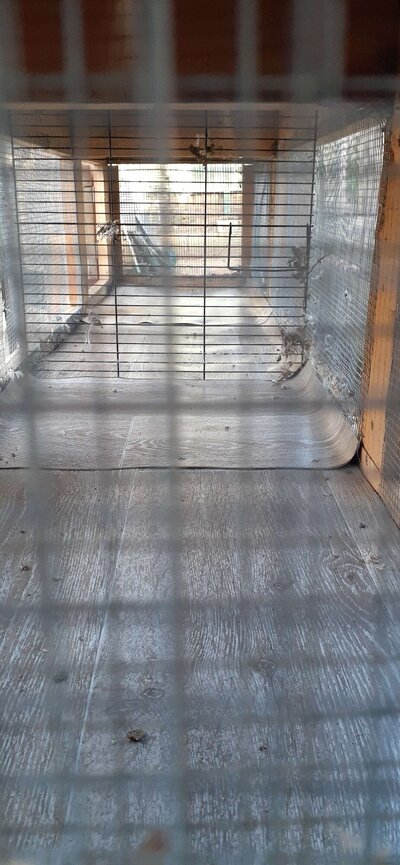
The problem with the main part of the coop is that it has floors. So today I went to bunnings (and you gotta go to armadale, sorry perthians) to pick up some vinyl flooring. It was only 20 bucks to do the part. Now I'll be stapling it to the pine flooring and then trialing shredded cardboard/paper. Speaking of trialing. I'm hoping to try out a new drinker system since the initial design is so solid. I'm thinking of a simple 50L tote with a fitting on the bottom. Although...I do have a 20L molasses drum I need to tip out which might work pretty well since it actually has a little plug in it already with thread I could no doubt use. They are easy to source as well. Might be an idea for the other coops.

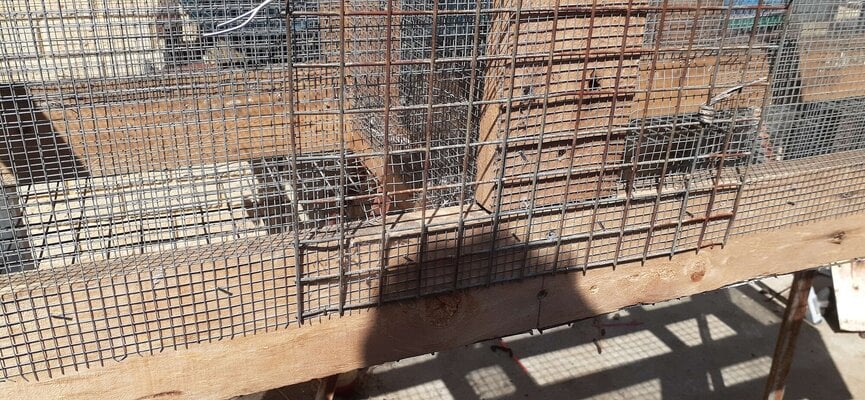
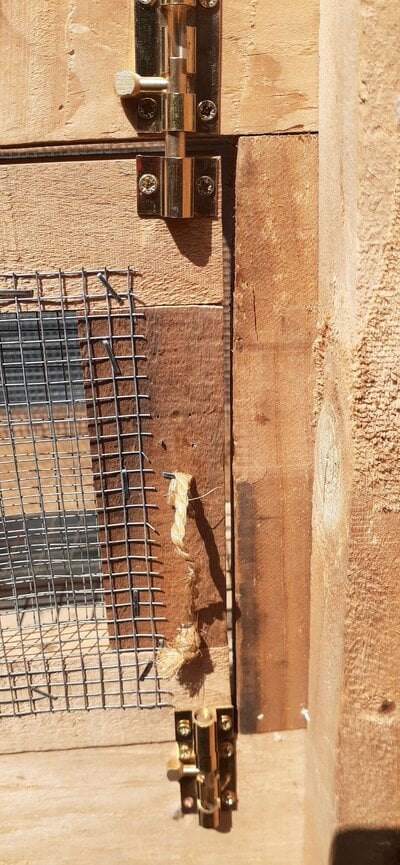
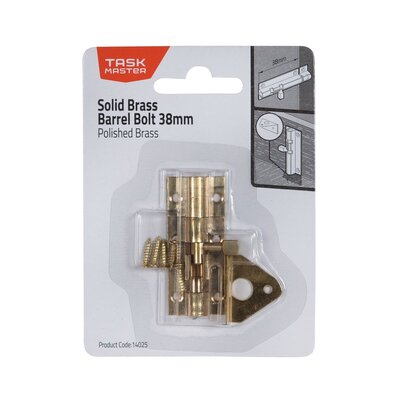
Anywho I'm going off topic but after nailing the flooring in I'll be purchasing a heap of cheap brass latches for the doors (you can see them on the single tier freebie) and maybe even screwing some pipe holder clips I have laying around to use as a door. I feel if I can be clean with the water setup it'll cut down on the stink quite considerably as using drinkers in tight areas with shredded cardboard would require litter changes often.

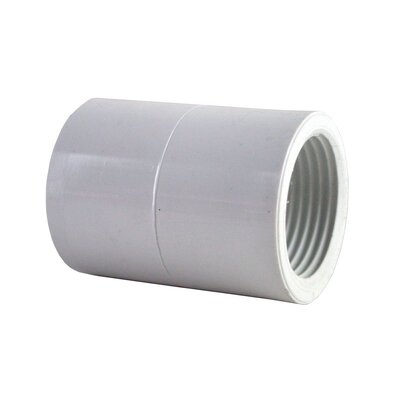
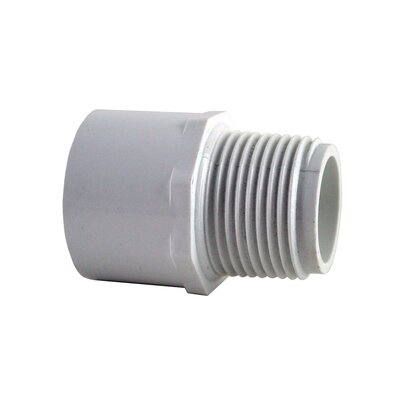
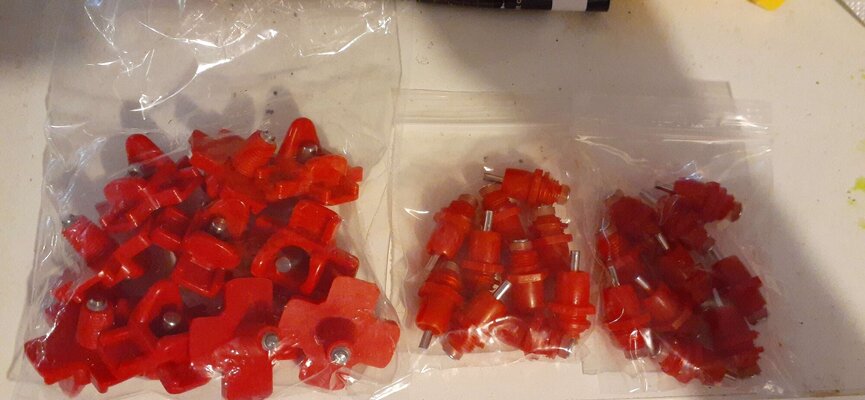
I have some 13 and 19mm flexible hose to run from the water drum all the way down to the drinkers and at least this way it'll be quite easier to setup with the fittings and what not. I can see two 20L drums either side and I will keep the top tier separated maybe into two single breeding groups and have the bottom all linked up. About the only annoying thing is moving it around and finding things to put under it to support it. Right now I'm just using milk crates but I think some lobster crates might surface if I go foraging down the back. Another annoying part will be the middle and trying to decide to put an extra door in or not.
 

Attachments

  • cheap vinyl flooring to go down.jpg
    cheap vinyl flooring to go down.jpg
    227.8 KB · Views: 62
  • Coop freebie.jpg
    Coop freebie.jpg
    681.6 KB · Views: 8
  • Freebie coop bottom meshed.jpg
    Freebie coop bottom meshed.jpg
    521 KB · Views: 7
  • Mesh over holes.jpg
    Mesh over holes.jpg
    677.5 KB · Views: 6
  • Two latches for added security.jpg
    Two latches for added security.jpg
    533.4 KB · Views: 6
  • new drinkers in.jpg
    new drinkers in.jpg
    260.9 KB · Views: 9
  • cleaning freebie coop.jpg
    cleaning freebie coop.jpg
    509.9 KB · Views: 8
  • cleaning freebie coop b.jpg
    cleaning freebie coop b.jpg
    509.9 KB · Views: 8
Well I got the flooring done on both levels and despite wanting to do a little more the daylight hours were running out and the neighbors around here are all bikies who get cranky easy. I love how Teddy and Louie jumped in the bottom deck to have a look around and check out my work. Also, I was using my arm to through those mesh holes to provide some additional force when stapling down the vinyl.

My remaining chores for it is to wheel it out into the chicken run and have it suspended on something. Oh and make a little frame for some polycarbonate to sit on so it's protected from the elements. Another thing is the latches where I'm doing two brass ones on each door. You can kinda see it in one of the pictures on the single tier bachelors pad. I might try to do it a bit cleaner this time and have them oriented properly.

Also I uploaded a pic of the pipe clips I'm talking about. What do you folk think about using them as a handle and between two brass deadbolt latches should make things secure. I'll also be cutting out some heavy gauge mesh to cover those holes once and for all. I did check to see if I could reach a quail and it was tight but doable for the top level.

As far as sandbaths go. I'll think about using one for the bottom tier since it won't be separate but the top will be a generic affair of shredded cardboard, drinker and feeder. I might actually hit up stockfeeds again and get those trough style types. I really like how they hook onto the mesh easy and they are also a breeze to pull out. About the only thing I dislike about the long one in the main coop is that the hens will often hang out where I'm trying to put it back in and they'll happily get squashed for a minute as I put it in place LOL.

Also already got a few 20L drums laying around like the picture supplied, one is currently half full of molasses that I might pour into the pod by the secret grove since there's currently a whole host of worms that could maybe use a sugar hit. I know I love bloody quaffing my energy drinks in the morning to kickstart the day but it's a bad habit that I sadly need to give up.

So tomorrow. Latches will be installed. Clips installed. Strong mesh over holes. Create a roof for the poly carbonate but high enough to fit the 20L drums in. I think I'll have PVC pipes for the drinkers and I'm gonna make sure to use heavy duty thread tape so hopefully it will be high enough to service the two tiers it will be standing on along with the single tier coop to the side.

I may need another separate drum for the main coop but I might actually use a tote for that instead since it'll be more stream lined and able to make use of the roof struts that are actually there.
 

Attachments

  • s-l500.jpg
    s-l500.jpg
    9.1 KB · Views: 7
  • latches.jpeg
    latches.jpeg
    133.2 KB · Views: 5
  • pipe clip.jpeg
    pipe clip.jpeg
    76 KB · Views: 4
  • Upgradedfloor.jpg
    Upgradedfloor.jpg
    400.3 KB · Views: 6
  • nexttheyllwantafountain.jpg
    nexttheyllwantafountain.jpg
    368.5 KB · Views: 6
  • I really like those mesh holes not.jpg
    I really like those mesh holes not.jpg
    134.9 KB · Views: 5
  • I really like those mesh holes not b.jpg
    I really like those mesh holes not b.jpg
    237 KB · Views: 7
  • buildinginspectors.jpg
    buildinginspectors.jpg
    418.5 KB · Views: 5
:pop Following along to see how it turns out 👍
Thank you! Tomorrow is Friday so we'll see how much work gets done but my idea of using gravity instead of a pump doesn't seem that much of a pipedream after all. My chicken setup is absolutely woeful; two dog bowls on wooden logs that get poured daily. I need to upgrade that bit ASAP as well but I have a lot more real estate to work with when it comes to chickens. Your name gives me cleric quintet vibes. Loved that book.
 
https://gumtreeau-res.cloudinary.co...tree/e3997662-cd6f-463a-80ff-1f9a2c1dc4c1.jpg

So this person is throwing all these out and hopefully the pickup is Henderson which is super local. I plan on using quite a few for automating the drinkers for the quail. And then I'll use the excess for some sort of wicking bed water void zone. I'd have to use screenings/gravel though if I go drill happy with them.

I'm torn on what to use as the hose that goes from the drum to the pvc pipe with the nipple drinkers screwed in. Cheap option would be to use simple garden hose (and I did snag one of those gardena 20m rolls for 23 bucks from bunnings) or hydroponic potami 19mm hose. I think it would stand up to the weather better and I have a lot more of the fittings but who knows, I might trial two different setups. Gardena FLEX hose vs Potami 19mm tube.

I'm just hoping I can find something that slots over the pvc pipe that then connects via the tube or hose. I somehow think it's not gonna be that easy.../sigh! Oh well off to look at bunnings website!
 
So the caps would be a definite buy, this is all 20mm, seems cheap and hopefully the nipple drinkers work with with that amount. Now with the faucet, the middle part I could just either screw the potami fitting in or a simple garden hose tap fitting in. I could maybe see myself using the third option for a bigger setup. Maybe for the chickens. I have been thinking about doing a PVC rail for the chickens setup on a 200L res.
 

Attachments

  • 24e4d382-d4f4-4618-bf6e-62c2c16ee2a8.jpeg
    24e4d382-d4f4-4618-bf6e-62c2c16ee2a8.jpeg
    121.9 KB · Views: 1
  • a70f6899-266b-4719-a25e-ab2e6cc40514.jpeg
    a70f6899-266b-4719-a25e-ab2e6cc40514.jpeg
    94.5 KB · Views: 3
  • d21a1f62-2adf-4eff-9bdd-da17c7fb60d8.jpeg
    d21a1f62-2adf-4eff-9bdd-da17c7fb60d8.jpeg
    97.8 KB · Views: 5
Thank you! Tomorrow is Friday so we'll see how much work gets done but my idea of using gravity instead of a pump doesn't seem that much of a pipedream after all. My chicken setup is absolutely woeful; two dog bowls on wooden logs that get poured daily. I need to upgrade that bit ASAP as well but I have a lot more real estate to work with when it comes to chickens. Your name gives me cleric quintet vibes. Loved that book.
Never heard of that book. Name comes from a movie I use to watch with my grandpa when I was young. Come to find out it was based on a nuns tale from a long time ago.

Have you tried the nipple water ers for the chickens? I have both a regular waterer and a nipple. I just used a old juice jug and put nipples on it.
I have trialed two different cup style drinkers that were the most popular on aliexpress at the time. One was a big cup and just slowly let water in but it needed to be level and then the most common type the chickens would just grab the plastic cup and pull them off.

So now I'm armed with the normal nipple drinkers and the square ones. I'll head down and pick up a tonne of these drums tomorrow morning, gotta get a dog vaccinated, then one rehomed. Oh that's right. And I still gotta get my quail eggs in the incubator /sigh.
 
I believe I have 99 eggs but who knows. I'd say some witty jay-z quote but I'm too bloody tired and wanna crash and get onto the next day!
 

Attachments

  • LOADEMUP2.jpg
    LOADEMUP2.jpg
    351.4 KB · Views: 1
Tested the nipple drinker on a bit of pipe today courtesy of a new 3/8 tap drill bit and a 9mm drill bit. I'm going to automate water to the quail coop and I got a cool little t junction that I'm going to use for the chickens.

I suppose the next thing is what to do about spacing. I'll sift through more content here to get an idea. I know I want to oversupply on the little quail because they always seem to struggle in the heat. I'm just glad they get shade a lot of the time from the honey locust overhead.

About the only thing that I'm thinking about is how the pipe will enter the cage to supply the pvc drinker. Think I'll just use snips to cut out a tiny bit but I'm just worried about vermin and what not.
 

Attachments

  • new3'8thbit.jpg
    new3'8thbit.jpg
    361.9 KB · Views: 1

New posts New threads Active threads

Back
Top Bottom