***SEE POST #10 FOR UPDATE with pics*******
Ok, so thanks to all you great BYC'ers i got many tips and ideas on how to set up aprocess station with litel to no funds.
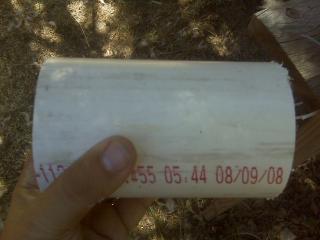
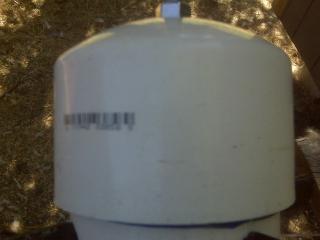
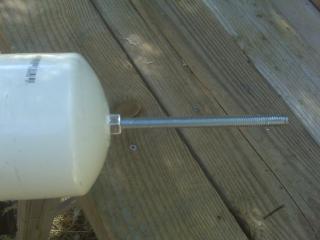
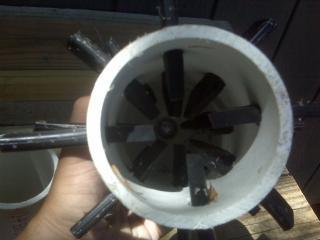
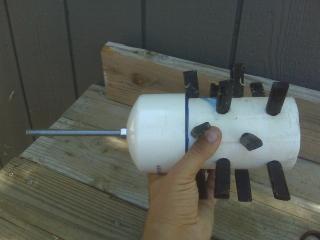
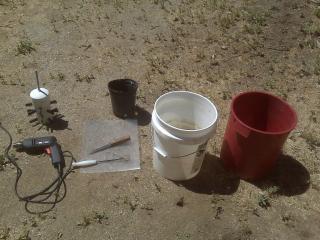
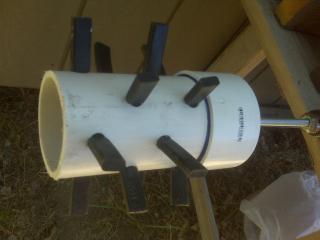
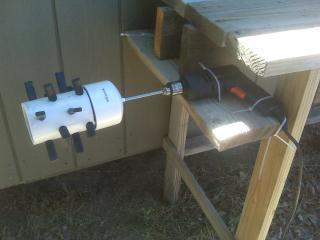
First off was the feather plucker, which i made out of 6 inches of pvc pipe and a pvc cap wiith a bolt through it to attach to the drill, THen i ran rubber luggage fasteners through the holes i drilled in the pipe, all costing me $5, not bad, and WOW DID IT WORK GREAT!

I attached it to the drill and fastened the dril down to the side of my makeshift bench via zipties
The rest of my procedss bench was built from scrap wood so $0.00 cost
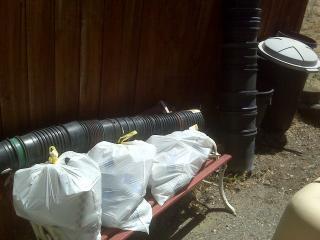
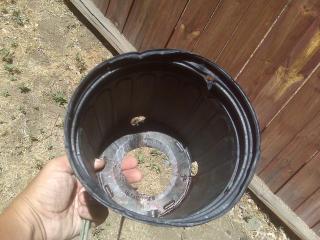
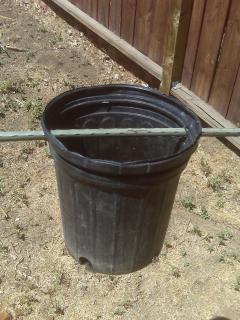
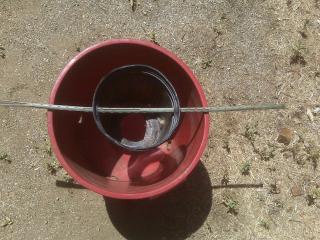
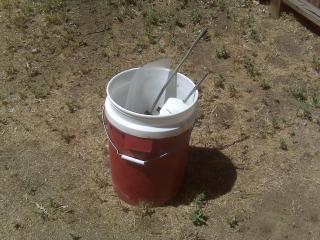
You can see the bleed out bucket i use under the bench. On the bench you see the black flower pot which i used as a kill cone. which i hung over the bleed bucket via the metal rod thought the top, which also holds the chicken in the cone. I used the propane grill to heat a pot of water for scalding and then on to the plucker and then to teh bech for processing, then into the ice cooler with heavy salt ice water to cure for 48 hours, then into the freezer parted out.
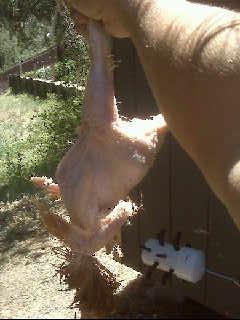
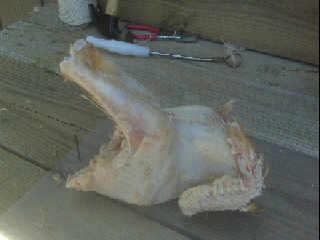
All in all this was my first time processing and i can do a bird every 10 minutes thanks to all your instructions and tips. All for $5!
Thanks to all of you, it made a nervous moment easy for me and easier on the birds.
Ok, so thanks to all you great BYC'ers i got many tips and ideas on how to set up aprocess station with litel to no funds.
First off was the feather plucker, which i made out of 6 inches of pvc pipe and a pvc cap wiith a bolt through it to attach to the drill, THen i ran rubber luggage fasteners through the holes i drilled in the pipe, all costing me $5, not bad, and WOW DID IT WORK GREAT!
I attached it to the drill and fastened the dril down to the side of my makeshift bench via zipties
The rest of my procedss bench was built from scrap wood so $0.00 cost
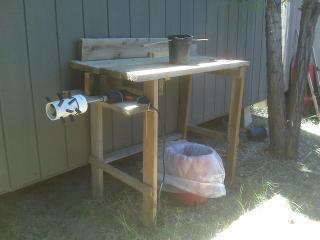
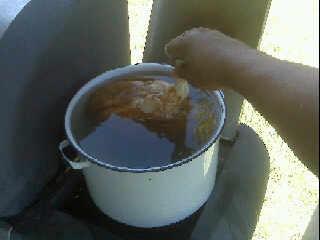

You can see the bleed out bucket i use under the bench. On the bench you see the black flower pot which i used as a kill cone. which i hung over the bleed bucket via the metal rod thought the top, which also holds the chicken in the cone. I used the propane grill to heat a pot of water for scalding and then on to the plucker and then to teh bech for processing, then into the ice cooler with heavy salt ice water to cure for 48 hours, then into the freezer parted out.
All in all this was my first time processing and i can do a bird every 10 minutes thanks to all your instructions and tips. All for $5!
Thanks to all of you, it made a nervous moment easy for me and easier on the birds.
Last edited: