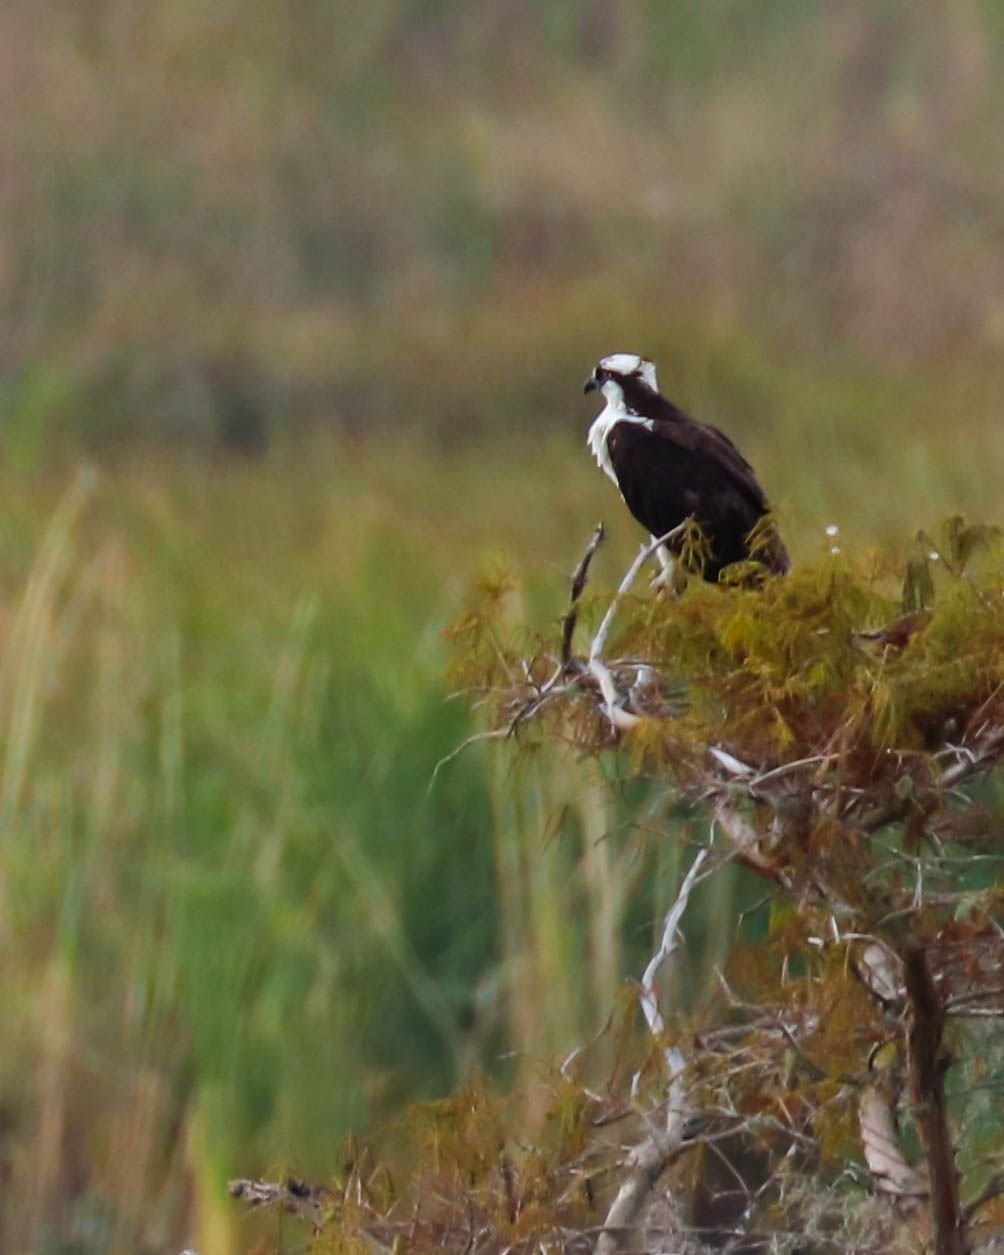
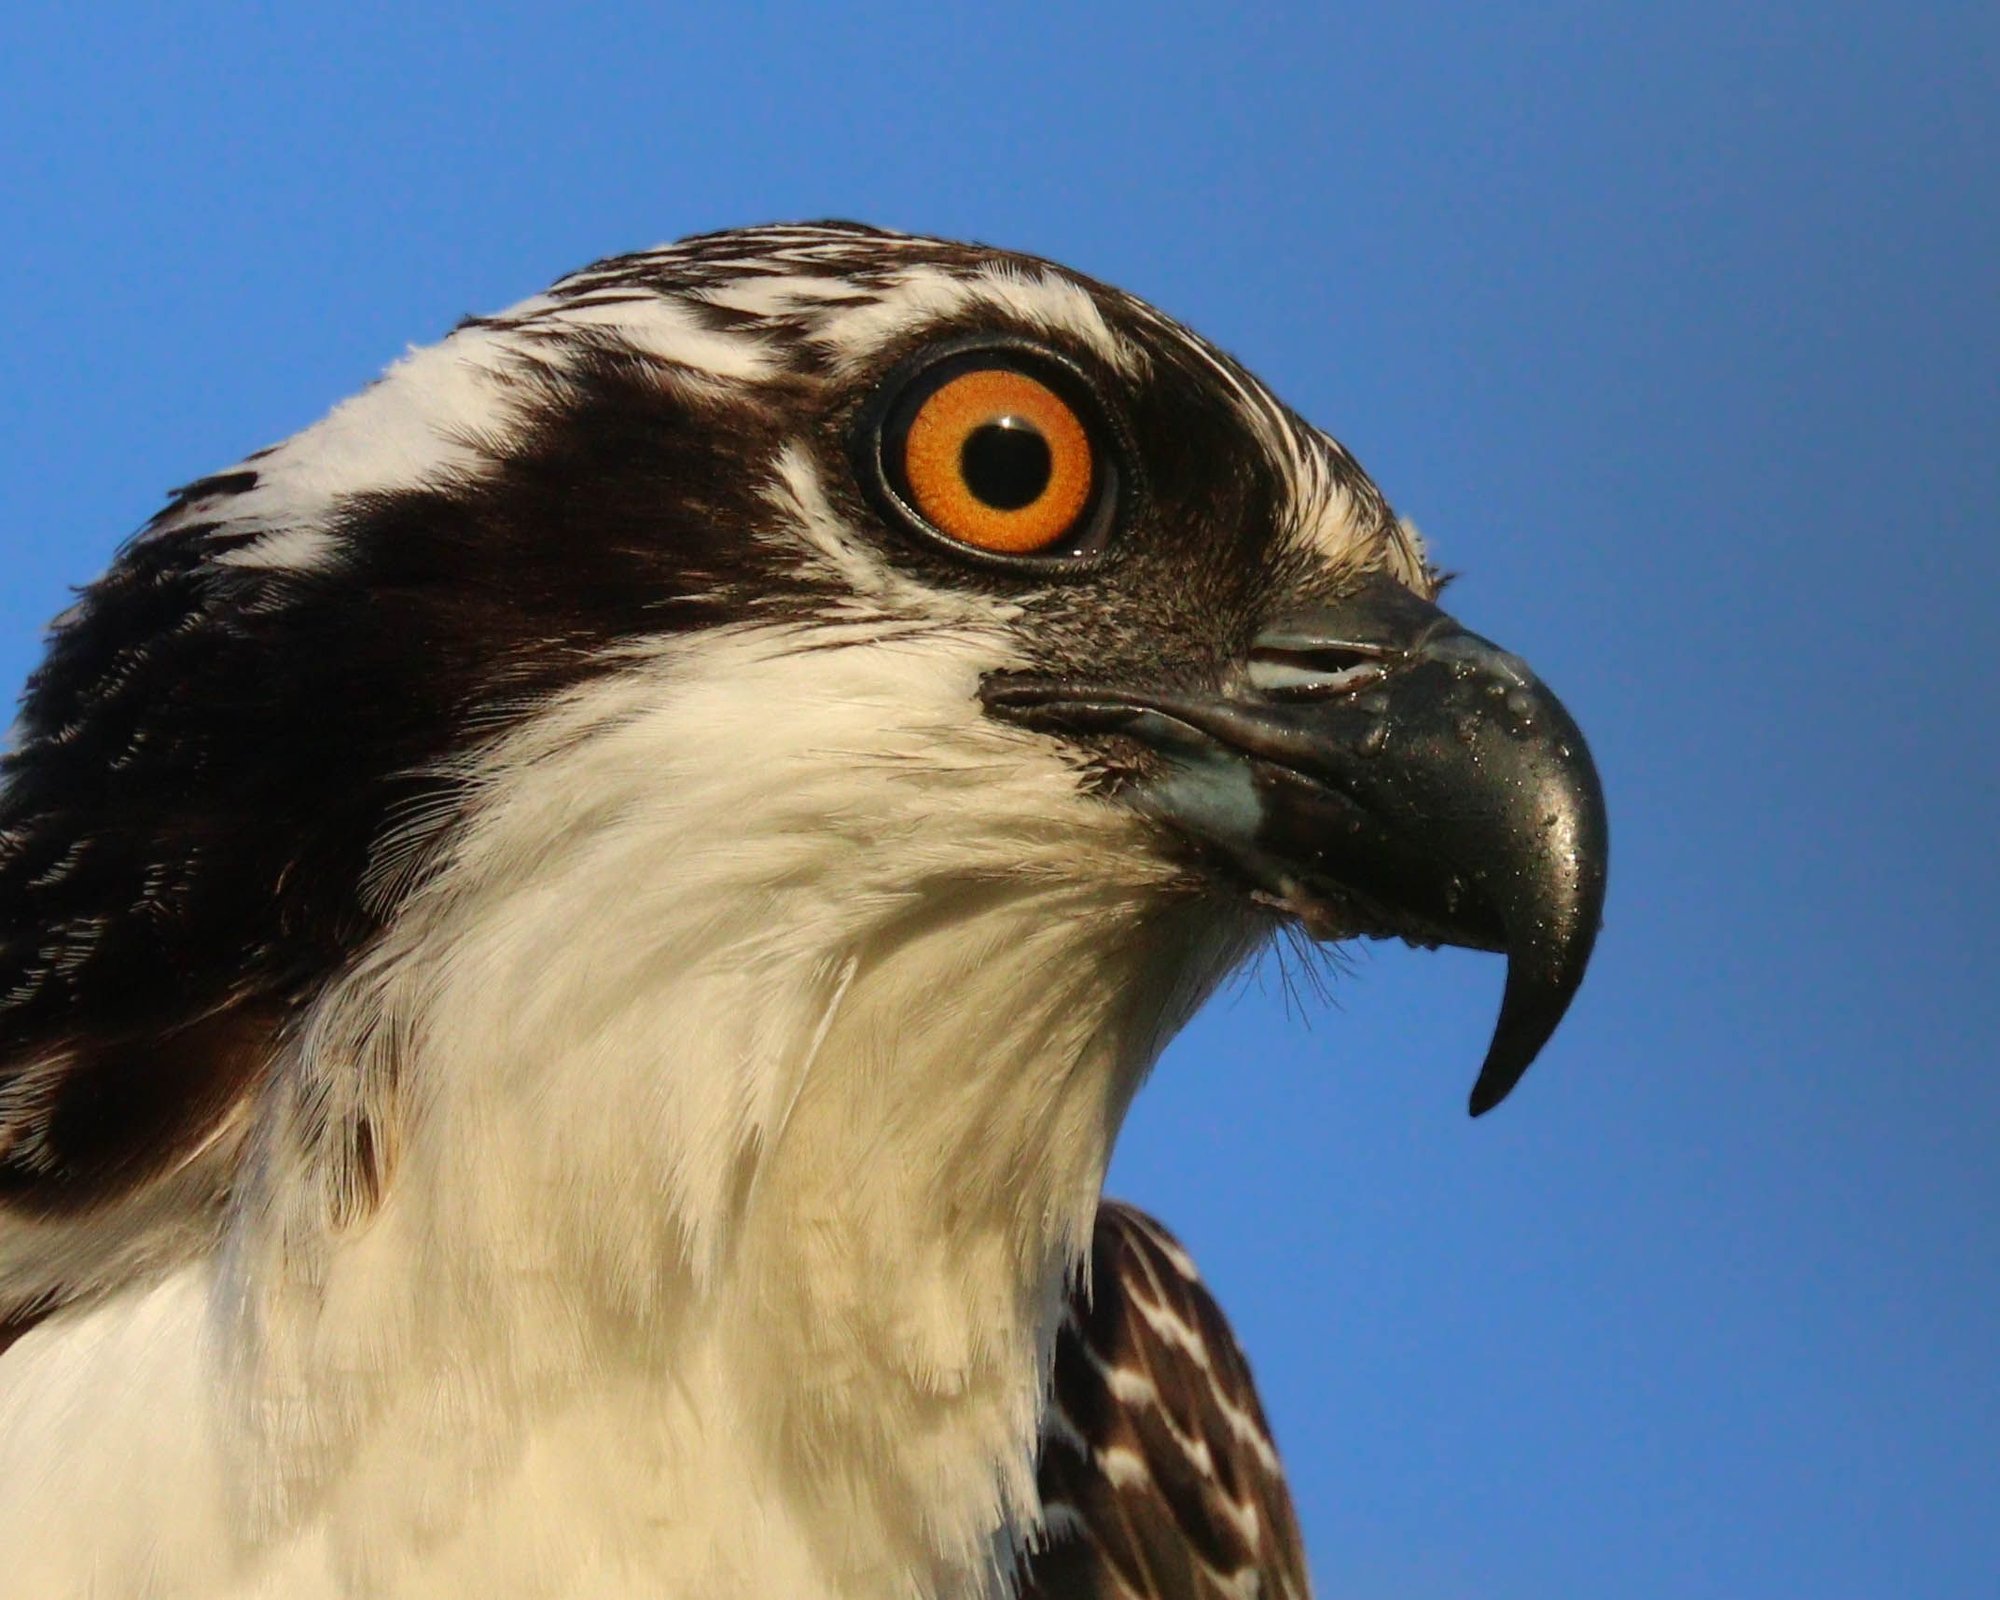
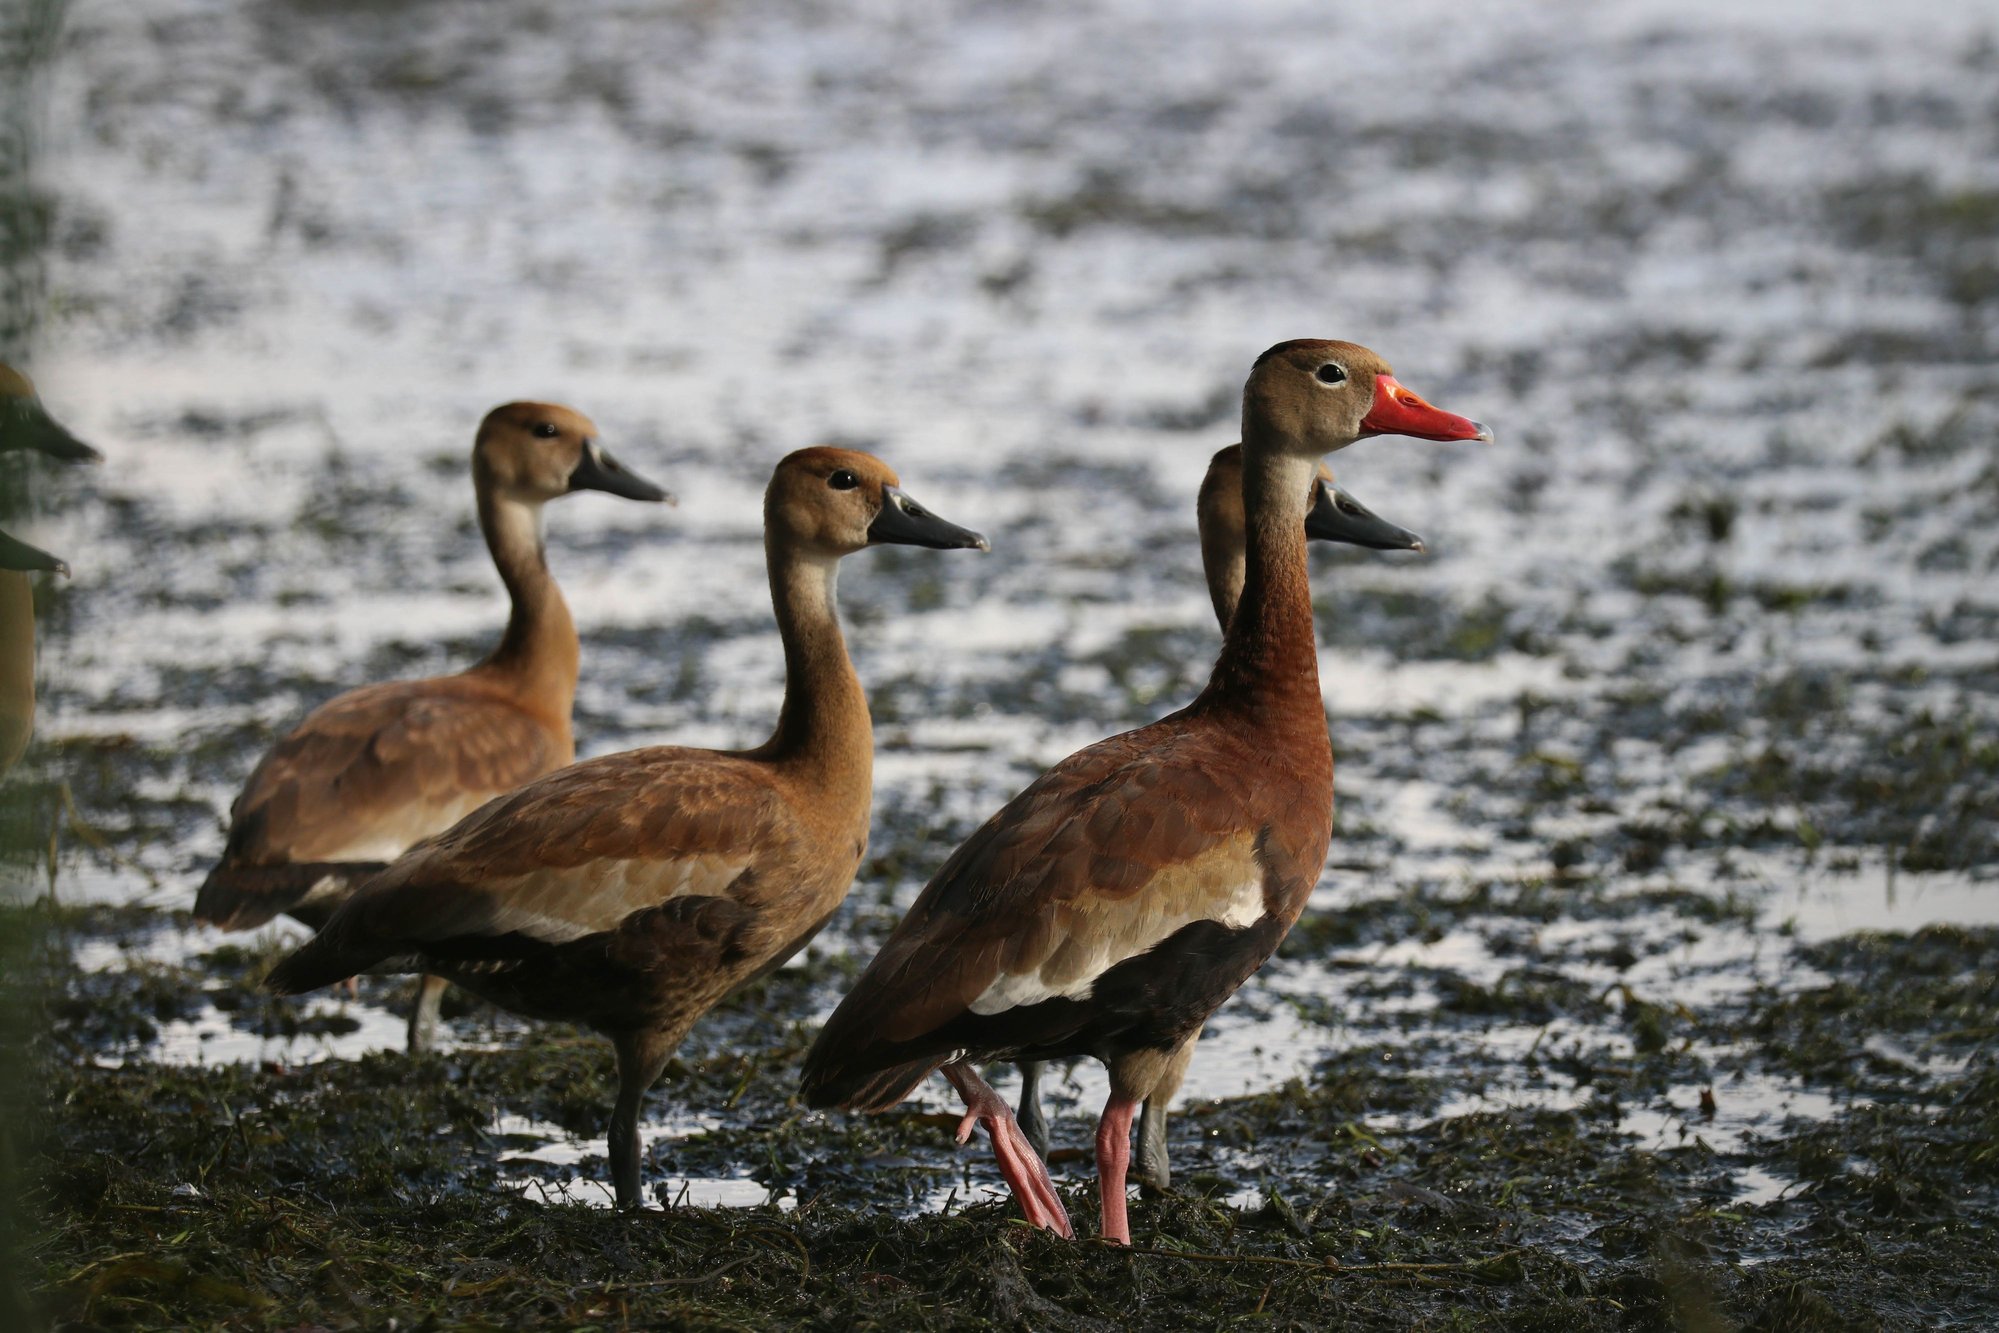
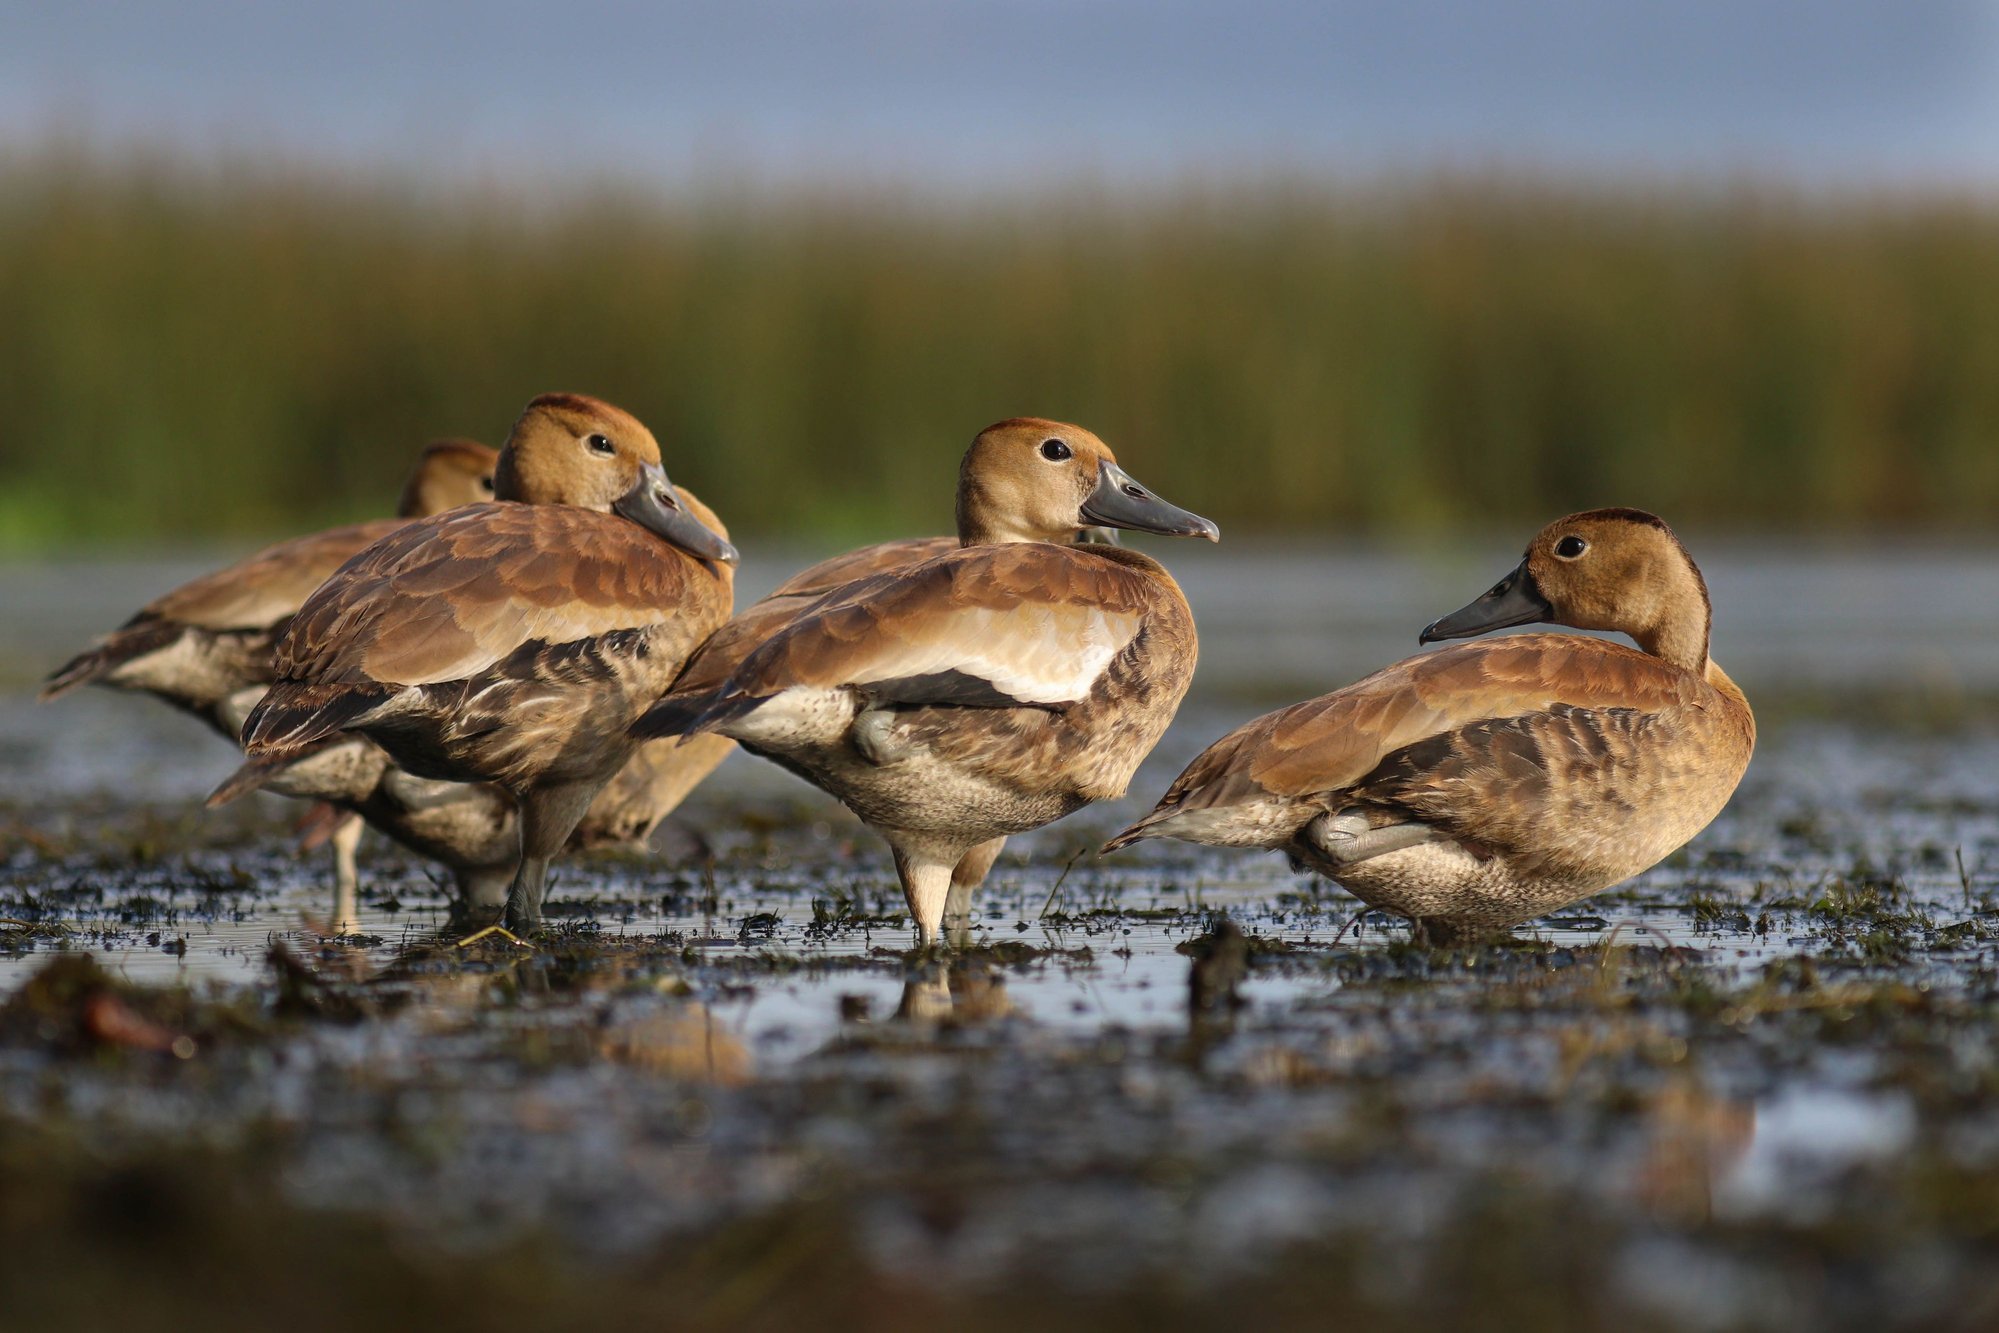
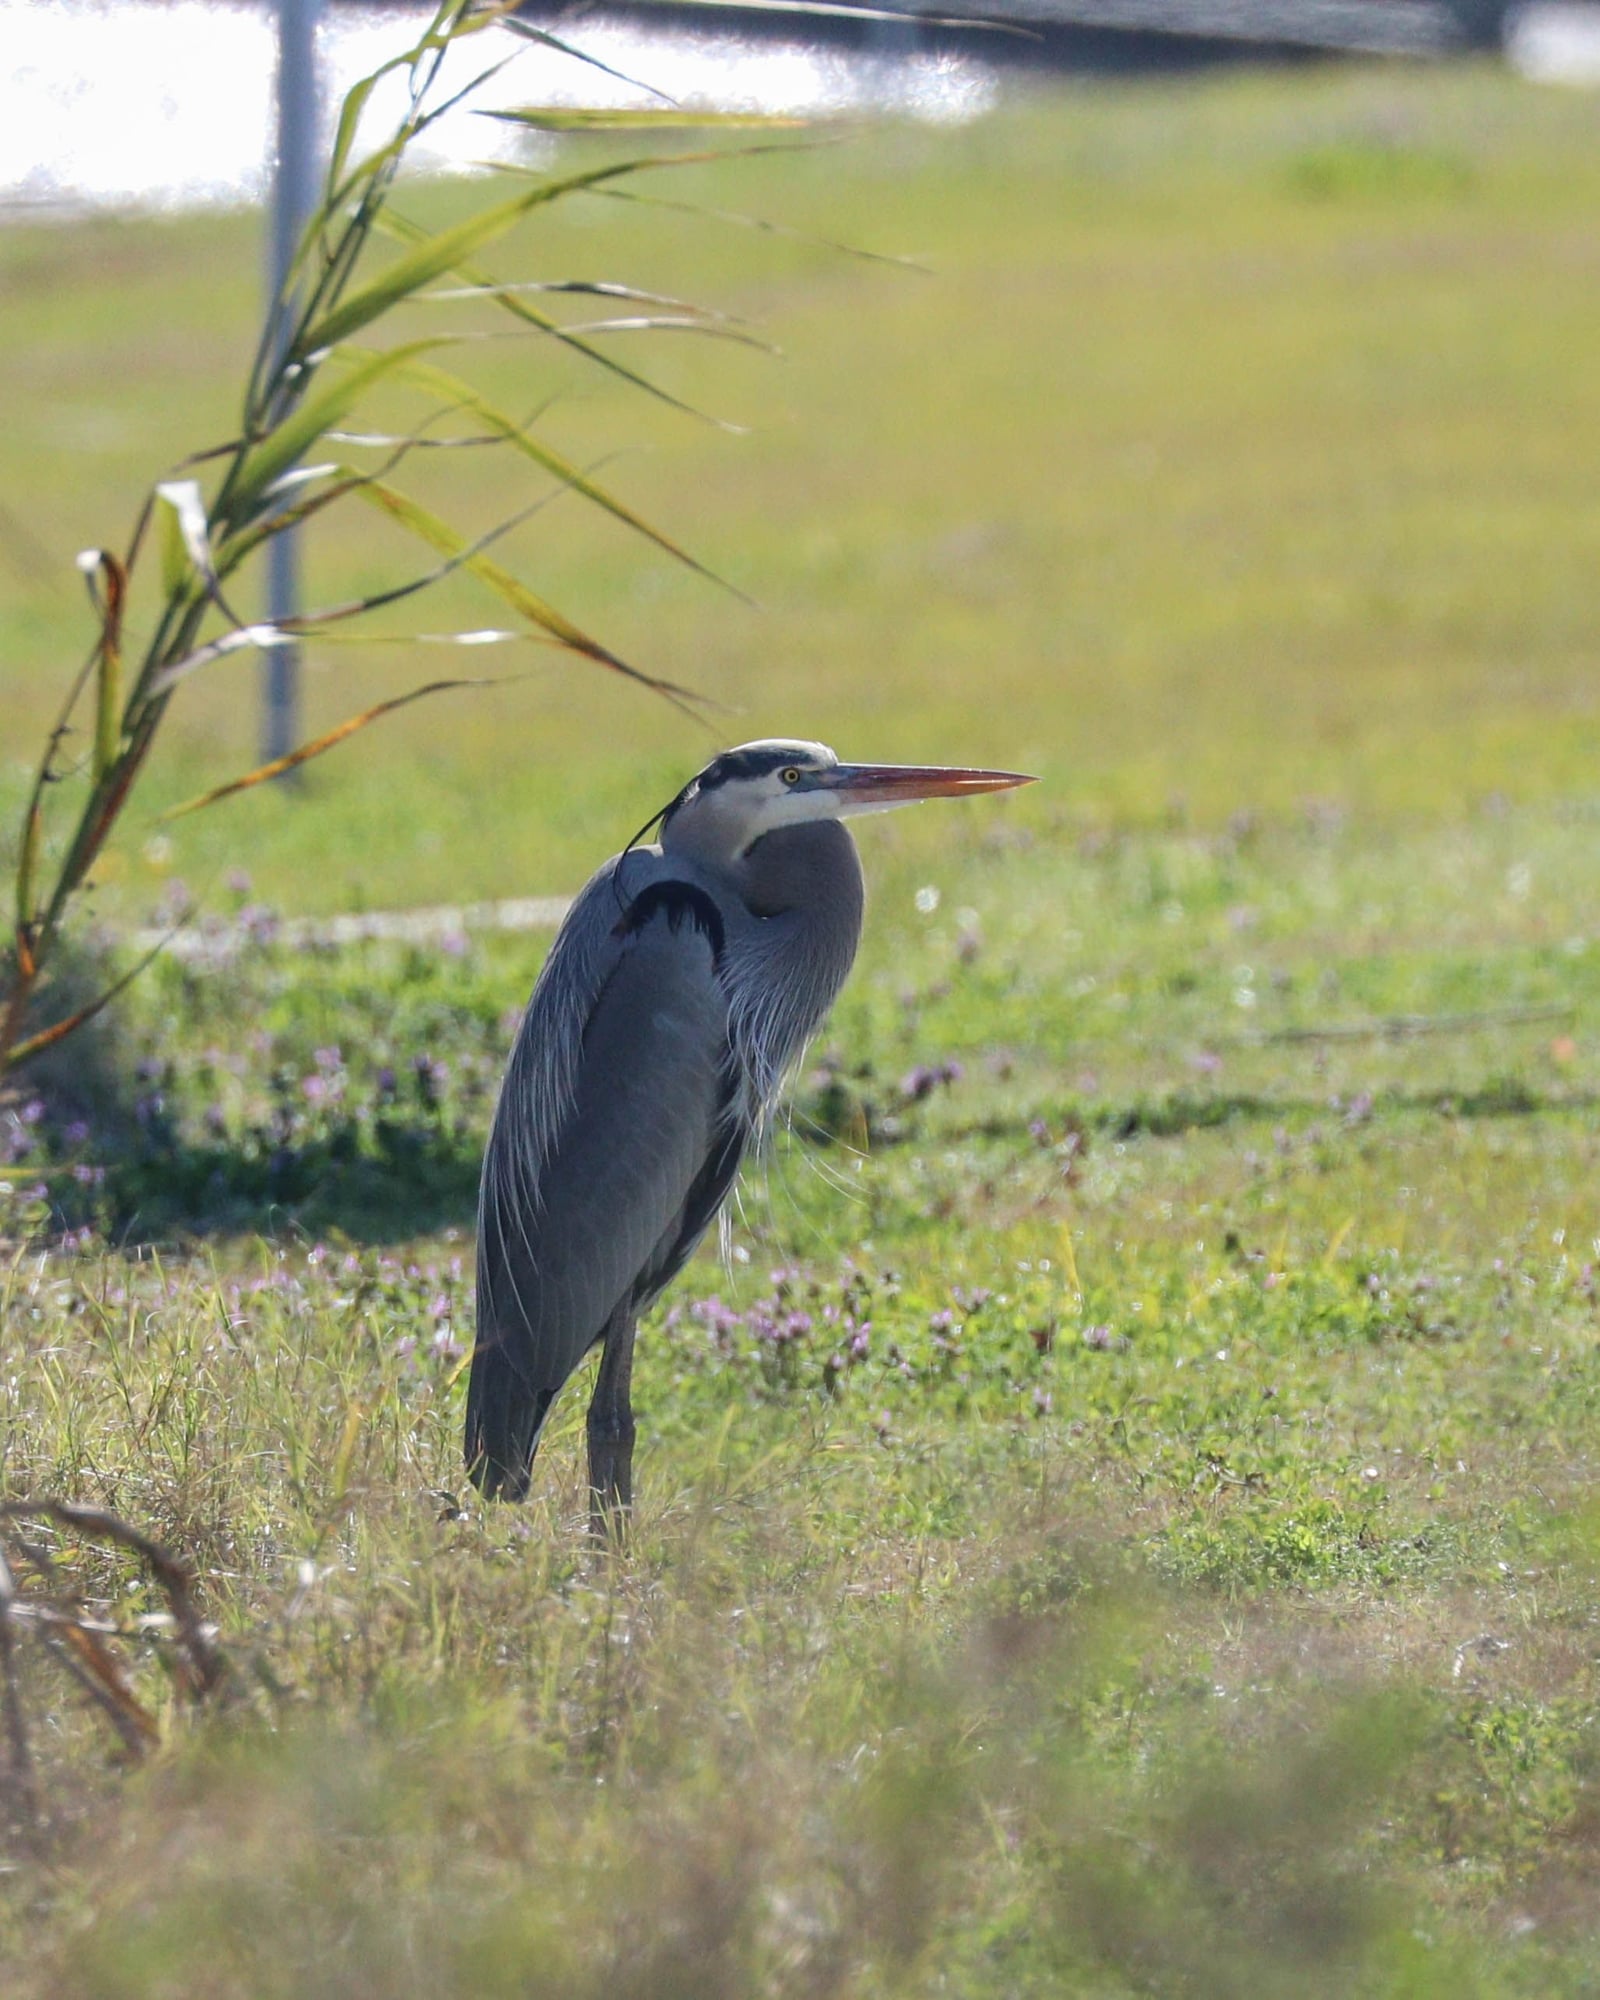
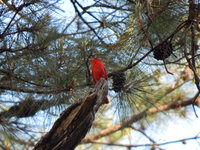
Wildlife Photography

Pics
IMG_4648.jpg
IMG_2375.jpg
 
Those are beautiful!!
Awesome photos!
What camera do you use?
I'm glad yall like them...

Most of my older pics are with a Canon Rebel T7i. But for the past 2 years I've been using a Canon 80d. They're very similar in performance but the 80d has a much better button layout, similar to more professional Canon cameras.... Once you break away from shooting in auto mode, you really start to appreciate the layout of the 80d over the rebel line. I didn't get into photography until about 4 years ago and the T7i was my first "real" camera. It's good and I still occasionally recommend it but if anyone thinks they'll take photography a little further than just a few pics here and there I definitely recommend the 80d.

I've learned a lot watching YouTube vids in the last two years and I've been trying to step up my game. I'm no professional but I've improved a lot from when I started. It's a very fun hobby but can get rather expensive when you start acquiring quality lenses. You can take decent pics with kit lenses but once you get a good handle of how to operate the camera, lighting, composition, exposure, depth of field, etc.... the kit lens will hold you back from getting tack sharp images.... those first two pics were with a $150 lens though so you can get good results with "some" cheaper lenses.

Here's a couple more recent pic's....

IMG_7331.jpg


IMG_4902-3.jpg


IMG_8597-5.jpg
 
Last edited:
I started these classes...well...I only watched one so far.
I need to remember to make time to watch a few more classes.

https://www.nikonevents.com/us/live/nikon-school-online/
That's pretty cool. I'll have to check some of those out. There's so much information you can get for free online it's pretty amazing really...

This is another pic with the T7i and the $150 Canon efs 55-250 IS STM lens. I overexposed the flower pedal and cropped WAY too far in but it turned out pretty good considering I had absolutely no idea what I was doing at the time, lol....

IMG_5100 (1).jpg
 
Last edited:
Alright so I got into photography about 4ish years ago and I started out with some pretty good camera gear but my pictures really were not that great. I had no idea they were at first, lol, but I was looking at what some other people were posting and their pics looked like national geographic quality and I didn't know what I was doing wrong. So I started watching tons of youtube videos and finally got a decent understanding of what makes a great picture great. Here are some of the tips I learned from all of the videos. Disclaimer: I'm not a professional photography and some of the terms I use may not be exactly correct but I have pretty good grasp of the overall "picture"... lol


1) Get as close as possible to the subject.
The closer you get, the more detail you get. It's as simple as that. I couldn't figure out how people were getting such great detail in their pics then I realized that a lot of them were 5, 10 and 20ft from the subject. Of course using a high quality zoom lens helps too.

Here's pics from 200yds away, 20yds away, and 20ft away...…

img_6966_eb00e253066c6374d1c59570c867f62d8e1367f8.jpg

img_6313_549b0f9a6596fea0084303462354edf118990d89.jpg

img_3173_dc2dc287ce9fba644a411ff1fb8b3c265adb84e3.jpg


2) Get eye level with your subject (sometimes means laying flat on the ground).

You do this for 2 main reasons.:

#1
when you are above the animal looking down the animal appears subordinate to you. I know it seems weird but its true. When you get eyelevel it's like you are a part of their environment/habitat and it comes across more natural. I know it's weird but you will be able to see what I mean in the following pics.

#2 You want to get low to the ground so that the background is a long, long ways away from you. The further away the background is, the blurrier it is. This helps to create completely blurred out backgrounds which makes the subject "pop out" in the picture. You'll be able to see what I mean in the following pics.

So these two pics are of the same ducks, in the same place, at the same time, with the same camera/lens, and the difference between them is pretty astonishing. In the first pic I'm taking a knee, looking down at the ducks. This is what a "normal" pic looks like. I've taken thousands of them like this, but they're really nothing special. In the second pic I'm laying flat in the mud, lol. By laying down you have more foreground and background in the pic, this allows the foreground and background to blur out and really makes the subject "pop" instead of having the background in focus, distracting you.

img_4652_4eeb9d458e334842139c4a7d9f7111fe5bd68c20.jpg


img_4902_bc0cd46ab0785168e46b5699b2ff855025541080.jpg


To better explain... in the first pic, the top of the image is around 10ft past the ducks and the bottom of the image is around 6" in front of the ducks. This means the bottom of the image is in focus (distracting) and the top of the image is slightly out of focus (only slightly distracting). In the second pic, the top of the image is now around 40 yards past the ducks and the bottom of the image is around 15ft in front of them. So both the foreground and background are completely blurred out, this makes the ducks really stand out or "pop".

There's another thing I did to improve the second photo. In the first pic, the ducks are looking towards the sun (you can tell by the shadows on the back of their necks). For the second pic, I moved to my right about 15ft and positioned myself between the ducks and the sun, this gets rid of the shadows, and is also going to be one of the next tips...


In the next pic, instead of walking up to the frog and taking a picture looking down at it (or taking a knee and angling down at it), I laid in the grass and got as close to eyelevel as I could. It gives a very different perspective, kind of like you are part of the environment.

img_1852_68ae947961434b51bbe493544f0fba1a6b49794d.jpg


Look at this goose pic. I was standing or maybe kneeling in this pic. I can only imagine how good this pic could have been if I would have laid down and got an eyelevel pic instead.... (and got closer to him so I wouldn't have to crop in as much, and positioned myself further to left so the light would come from behind me and not cast a shadow on his back half, and so the goose is facing me instead of angling away, these are the next tips...)

img_9212_195aa5bfbae6aa791a028b888ff1aa1d93615e46.jpg


Here's another goose and this time I got as low as I could, not quite eyelevel, but close. Notice the rather blurry background, it's a better perspective.

IMG_4589.jpg


And here's some geese with that low perspective and blurry backgrounds. My camera is about 6" off the water in this pic. These geese were a long ways away which is why the background is not completely blurred out.

img_6516_c5e1f475a6081d076eb474e1ee671e7890ec91f3.jpg


3) Position yourself so the sun is at your back, fully lighting up the subject

Here's a couple old ones, lol. Both these pics are where the sun is high in the sky and bright (called harsh light). See how the bright sun is hitting the birds back, creating a shadow down the side. This is not ideal...

img_9210_d1511714071480260426efb89644f01f81dbd43b.jpg


The sun is slightly behind the bird in this pic. It's very hard to expose this picture properly because if you brighten the bird up the background gets super bright....

img_9218_a251ee5aff5737e44e029e68c093ef8582eecafc.jpg


4) Take pictures during "golden hour". This is right after sunrise and right before sunset. It's a very soft light. If you take pictures at 12 noon with a bright sun (no clouds) you have a bunch of shadows which are very hard to work with.
So the previous pics were in bright harsh light, this is what golden hour looks like..... soft, warm light with a nice golden glow. Remember you want to position yourself so the sun it as your back.


1590866465150.png


1590866504823.png


IMG_7331.jpg


5) Make sure the animal is facing you or at minimum perpendicular to you. You don't want to take a pic of an animal that has his back to you or is angling/looking away from you.
Here's one of the first dragonfly pics I ever took. I though it was the coolest pic ever. But he's facing away from me. Here's what it's supposed to look like....

1590866799855.png


1590866731795.png


1590866579958.png


6) PROPERLY COMPOSING YOUR PICTURE. This is probably the most beneficial tip that anyone can use and there are a couple parts to it.

What I used to do and most people do is center compose the picture. This means you point your camera at the subject, you put it right in the center of the screen and you take the picture. You end up with a picture like this...

IMG_5881-3.jpg


That is not ideal. You want to use the rule of thirds when framing the picture. You don't want the animal in the dead center of the picture, generally speaking. Basically you draw two evenly spaced vertical lines and two evenly spaced horizontal lines on the picture, then you want to place the subject as close as you can to where the lines intersect. So look at this pic with the lines drawn on it....

IMG_5881-31.jpg


So there's 4 intersecting points where you want to try and place the subject, which one do you use?

Well you always want more open space in front of the animal, not behind it. So if he's looking to the right you place him on the left side of the picture. If he's looking up you place him on the bottom of the picture, etc. So you pick the intersecting point that works best...

Check this next pic out, it is not framed correctly. He's looking to the right so there should be more space in front of him in the pic, not behind him.

IMG_5881-21.jpg


IMG_5881-2.jpg


This pic is framed properly. He's not in the center of the pic, he's looking right so I placed him on the left side of the picture and his eye is very close to the upper left intersection.

IMG_5881-1.jpg


IMG_5881.jpg


This next one is also framed correctly. He is looking down and to the left so I placed him in the upper right intersection.

IMG_7481-1.jpg


IMG_7481.jpg


Here's another one that's framed correctly. The head is in the lower left intersection and I'm also eye level with him...… The only thing I wish I had done differently with this one is zoom out just a hair so I didn't cut off the edges of his body.

IMG_8636-1.jpg


IMG_8636.jpg


Here's one more done properly. He's looking left so I placed him in the upper right intersection. Since he is looking up I probably could've put him in the bottom right intersection also. Remember the "rule" of thirds is not necessarily a rule, it's just a good guideline to go by but it does not always apply.


IMG_8614-1.jpg


IMG_8614.jpg


So here's the question of the day. How do you get him positioned on one of the intersections? There's two different ways. The easiest way is to take a pic of him in the center of the picture then crop the picture after you take it and move him where you want him. This is what I do most often but the problem is when you crop in you lose detail so you need a lot of megapixels to be able to crop in a lot.

The proper way to do it is use a single autofocus point on the camera and move it to one of the intersections before you take the picture. This is more difficult especially with animals that can change position. It's actually more simple on a phone. You just frame the picture where the animal is on one of the intersections then you touch the eye of the animal and the phone camera will focus where you touch and take the pic.

So ideally you want the animal to be as close to where you want him framed as possible but it's okay to crop in a little bit to move him around. The more megapixels you have, the more you can crop.


Here's one more pic that is framed pretty good. His head is in the upper right third, he's looking left and has more space in front of him than behind him. But I could have made this pic even better if I had moved to where that big tree limb wasn't intersecting his beak. It is distracting, which is the next tip...…

IMG_6061.jpg


7) Pay attention to your background and move yourself to make it better
These two pics were taken of ospreys sitting on the exact same pole. (If you notice, one was taken during golden hour and one was not, pretty easy till which is which.)

The difference between the two pics (besides golden hour) is the background. In the first pic the background is very bland. There's nothing in it, just a featureless sky. In the second pic I was 30ft to the left to put some trees in the background. I think the blurred out leaves make for a better photo. BUT.... sometimes the background can be too distracting and take away from the animal. So it's different with every shot.

1590867098674.png


IMG_6313.jpg


If the background isn't adding to the photo, its actually taking away from the photo. Now when I see an animal I want to take a pic of I look at what's behind it and I position myself where I like what is behind him. Usually you want a nice even background that is pretty far away from the subject. If it's real close to the subject it will not be blurry and can distract from the subject.


8) Focus on the eye. Our eyes are always drawn to the animals eyes and their eye should always be in focus. Look at the previous Osprey pic. It may be hard to tell but if you zoom in and look the camera actually focused on his body and his eye is a little out of focus. You need to use a single autofocus point and place it directly on their eye. Or if using a phone click directly on his eye to take the pic.

In this next whistling duck pic the camera focused on the body and I didn't realize it because this was a fast action shot, but if you zoom in you'll notice his eye is also slightly out of focus because his head slightly further away than the body.


1590867280143.png


In this next pic, I paid special attention to getting the focus on his eye since the camera would typically try and focus on his body because its bigger. I used a singe autofocus point and placed it right on his head. (If you notice I'm also eyelevel with him laying flat on the ground, which gives the nice blurred background, I'm also close to him, probably 30ft and the sun is behind me a little off to the right, and this is golden hour right before sunset, and he's composed near the upper right intersection, not center composed) See how I used several of the tips to take this one picture.

IMG_5113-2.jpg


One more thing to mention about the eyes is the catch light.
This is the reflection of the sun in the eye of the animal. This is something you want to try and capture if possible. It adds a little bit of life to the animal. If you scroll back and look at pretty much all of the pics I have posted you will see a shimmer of the sun in each of their eyes. Sometimes you have to wait for the sun to come out from behind a cloud or you may need to move yourself a couple feet side to side to make it work, But you really want to get that catch light in their eye if you can.

Well that's all I got right now. If I think of anything else I will post it. If ya'll have any questions or want me to elaborate on something I posted just let me know. I didn't really get into DSLR specific info but if you have any questions about that I'd be happy to answer them..... thanks for checking it out.
 
Last edited:

New posts New threads Active threads

Back
Top Bottom